
Auto Engine Repair: Costs, Common Problems, Diagnostics, and DIY Solutions
A car’s engine is the heart of vehicle mobility, and understanding auto engine repair helps drivers recognize problems early, reduce repair bills, and avoid breakdowns. This guide explains how engines fail, the diagnostic workflow technicians and DIYers use, realistic cost ranges and budgeting tactics, and which maintenance and DIY tasks safely extend engine life. You will learn to map symptoms to likely causes, run basic OBD-II and physical tests, decide between repair, rebuild, or replacement, and create a maintenance schedule that preserves engine health. Practical checklists, decision frameworks, and diagnostic tables are included to make symptom assessment and next steps straightforward. Read on to identify common symptoms like knocking, overheating, and smoke; to understand essential tools such as an OBD-II scanner and compression tester; to compare repair cost ranges; and to learn safe DIY procedures alongside clear thresholds for professional help.
What Are the Most Common Car Engine Problems and Their Signs?
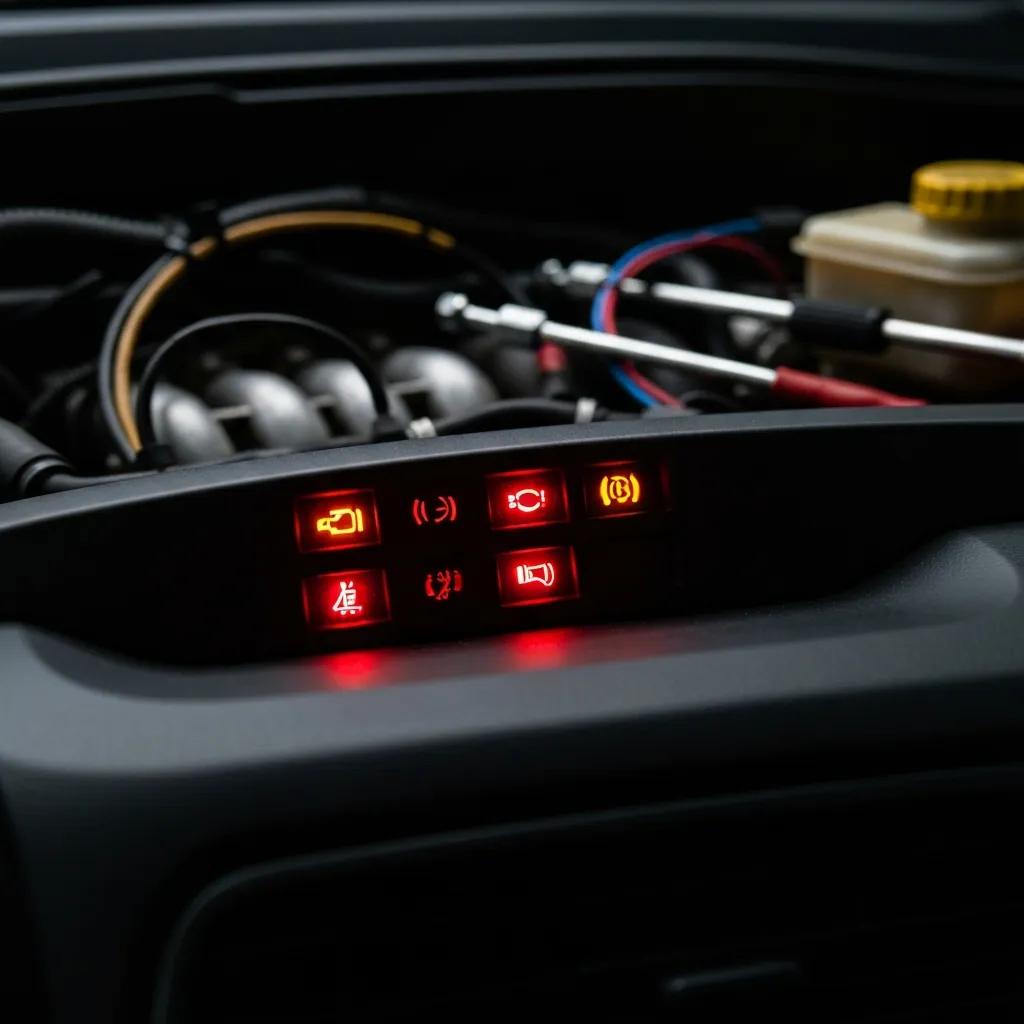
Common engine problems present with a small set of repeatable symptoms that indicate underlying mechanical or electrical failure. Recognizing these signs early—such as knocking, overheating, smoke, loss of power, rough idle, fluid leaks, or persistent check engine light illumination—lets you prioritize diagnostics and limit secondary damage. Each symptom maps to a set of likely causes and immediate actions to take, so a quick initial assessment can determine whether to continue driving or stop and seek repair. The following subsections describe how to detect knocking and overheating and then outline root causes like head gasket failure and timing component wear, preparing you to follow up with targeted diagnostics.
How to Recognize Signs of Engine Trouble Like Knocking and Overheating
Engine knocking or pinging is a metallic, rhythmic sound that usually grows louder with load and often indicates abnormal combustion, low oil pressure, or worn rod bearings. Overheating shows as high readings on the temperature gauge, steam or coolant smell, and sometimes dashboard warnings; immediate steps include stopping the vehicle safely, allowing the engine to cool, and checking coolant and oil levels. Both knocking and overheating demand prompt attention because continued operation can cause catastrophic damage like warped heads or seized pistons. Noting when the symptom occurs—idle, acceleration, or under load—helps narrow probable causes for a repair plan and informs the next phase of diagnostic testing.
What Causes Common Engine Problems Such as Head Gasket Failure and Timing Belt Issues?
Head gasket failure often follows prolonged overheating, coolant loss, or age-related deterioration and typically presents with white exhaust smoke, milky oil, or unexplained coolant loss without visible leaks. Timing belt or chain wear and failure result from age or lack of service and can cause valve-to-piston contact, producing loud bangs, complete loss of power, or a non-starting engine; the risk varies by engine design (interference vs non-interference). Other root causes include poor maintenance (neglected oil changes), contaminated fuel, and extreme operating conditions that accelerate wear. Understanding these mechanisms points toward preventive steps—regular coolant and oil maintenance and timely timing component replacement—to reduce the likelihood of severe repairs.
Research has explored advanced methods for diagnosing head gasket issues, such as analyzing vibration signals.
Bayes Classifier for Car Engine Head Gasket Diagnosis Using Vibration Signals
In this article the results of tests conducted with the use of Bayes classifier for diagnostic purposes are presented. The purpose of the tests was diagnosis of technical condition of head gasket in internal combustion engine of a car. The source of information about technical condition was the vibration signal measured in various measurement points.
Different engine components contribute to specific failure modes, so mapping symptom patterns to parts streamlines subsequent diagnostics.
| Symptom | Possible Cause(s) | Typical Fix / Next Step |
|---|---|---|
| Knocking or pinging | Low oil pressure, poor fuel octane, worn bearings | Check oil level/pressure, inspect for DTCs; perform oil change and compression test |
| Overheating | Coolant leak, failed thermostat, water pump, clogged radiator | Stop engine, cool down, check coolant level; pressure test cooling system and inspect thermostat/pump |
| White smoke from exhaust | Head gasket leak, coolant in combustion chamber | Perform compression/leak-down test and chemical test for combustion gases in coolant |
| Blue smoke from exhaust | Burning oil due to valve seals or piston rings | Inspect valve guides, perform compression and oil consumption checks |
| Rough idle / misfires | Faulty spark plugs/coils, fuel injector issue, vacuum leak | Read OBD-II codes, inspect ignition/fuel systems, perform smoke test for vacuum leaks |
| Loss of power | Air intake restriction, fuel delivery problem, turbocharger issue | Check air filter, fuel pressure, boost system; scan for DTCs |
| External fluid leak | Valve cover gasket, oil pan gasket, coolant hose | Visual inspection and pressure testing to locate leak |
How Do Engine Diagnostics Work and Which Tools Are Essential?
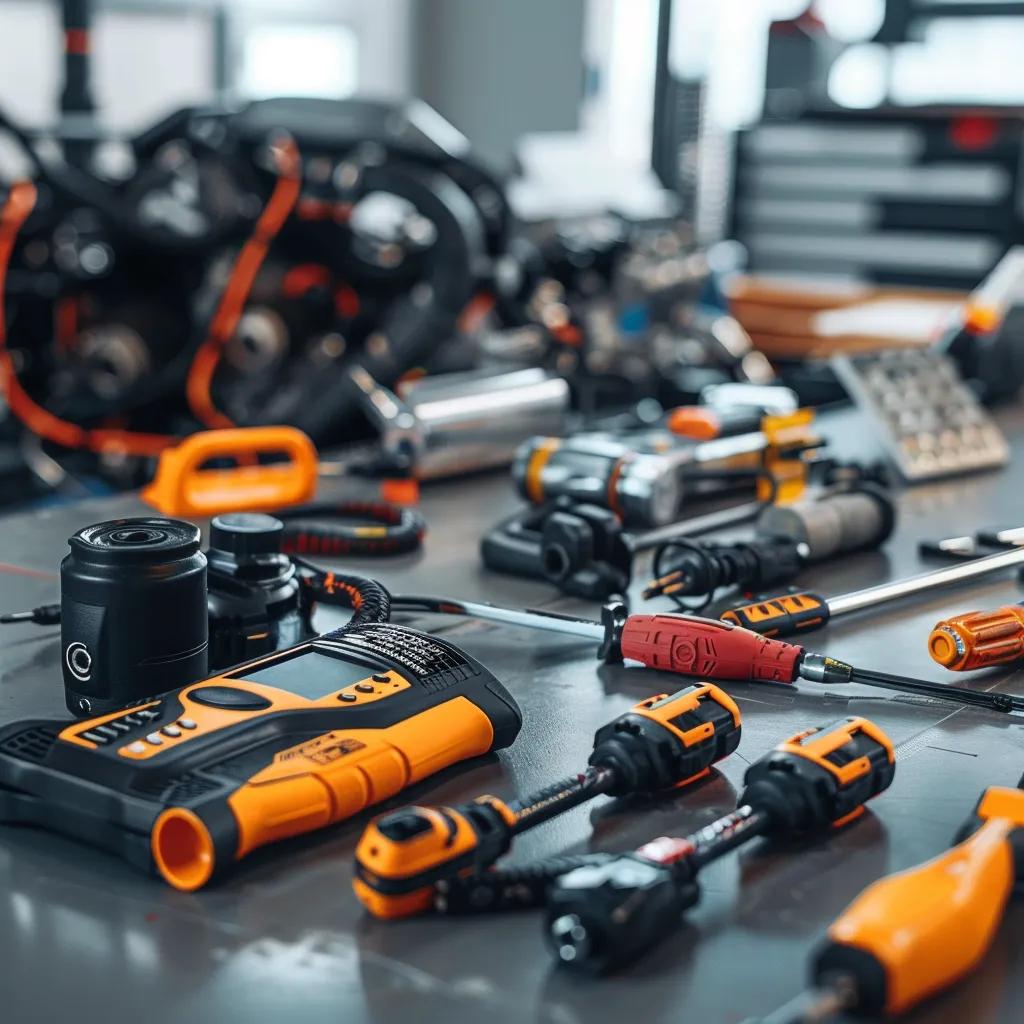
Engine diagnostics follow a logical workflow: record the symptom, scan for diagnostic trouble codes (DTCs), perform a visual inspection, run targeted component tests (compression, leak-down, fuel pressure), and verify with a controlled test drive or live-data monitoring. Tools range from a basic OBD-II scanner to more specialized testers like compression gauges and coolant pressure pumps; each tool serves a distinct function in narrowing root causes. Successful diagnostics combine electronic code interpretation with mechanical tests to avoid misdiagnosis—an OBD-II code points to a symptom or system, while physical tests confirm mechanical integrity. The next subsections give a step-by-step OBD-II procedure and a practical diagnostic sequence to follow when troubleshooting.
How to Use an OBD-II Scanner for Accurate Engine Diagnosis
An OBD-II scanner provides stored and pending DTCs as well as live sensor data such as fuel trim, oxygen sensor voltages, and misfire counts; start by connecting the scanner, reading codes, and noting freeze-frame and live-data parameters. Look up each code definition and treat codes as clues rather than definitive root causes; for example, a P0300 indicates random/multiple misfires that require inspection of ignition, fuel, and compression systems. Use live data to compare expected sensor behavior (MAF, MAP, O2 sensors) while cranking and at idle, and clear codes only after confirming repairs are made to verify the fix. Proper scanner use reduces time spent replacing parts unnecessarily and guides which mechanical tests (compression, fuel pressure) to perform next.
What Are the Key Diagnostic Steps for Identifying Engine Issues?
A practical diagnostic sequence begins with symptom documentation, followed by OBD-II scanning, a thorough visual inspection for leaks and damaged components, and targeted mechanical tests such as compression or coolant pressure tests. Record results methodically and escalate to more advanced testing—like leak-down or oscilloscope ignition analysis—if initial checks are inconclusive; these steps move you from symptom to root cause efficiently. Safety and proper tooling are essential: always secure the vehicle, disconnect the battery when working on ignition components, and use PPE when handling coolant or fuel. After mechanical and electronic checks, a controlled test drive with live data logging confirms repair effectiveness and prevents repeat failures.
Before running physical tests, it’s important to match the suspected failure mode to the correct diagnostic tool and procedure.
| Tool / Method | Function | When to Use |
|---|---|---|
| OBD-II scanner | Reads DTCs, live data | First-line diagnostic for check-engine light and live sensor monitoring |
| Compression tester | Measures cylinder compression PSI | Use when misfires, poor starting, or suspected mechanical wear occur |
| Coolant pressure tester | Pressurizes cooling system to reveal leaks | Use when overheating or coolant loss is present without visible leaks |
| Fuel pressure gauge | Measures fuel system pressure | Use when loss of power or lean codes are present |
| Leak-down tester | Identifies leakage paths in cylinder | Use when compression test results are low to localize failure |
| Multimeter/oscilloscope | Electrical and sensor signal testing | Use for ignition, sensor, and actuator diagnosis |
What Is the Average Engine Repair Cost and How to Budget for Repairs?
Engine repair cost varies widely based on the repair type, vehicle make, labor rates, and extent of damage; typical minor engine repairs range from a few hundred to over a thousand dollars, while rebuilds and replacements escalate into multiple thousands. When budgeting, factor in parts quality (OEM vs aftermarket), labor hours (which differ by vehicle complexity), and potential follow-on repairs revealed during teardown. Use scenarios—minor oil leaks and spark plug replacements are low-cost fixes versus head gasket and timing-related catastrophic repairs—to decide whether a repair, rebuild, or replacement is financially sensible. The following subsections provide more detailed cost ranges and a decision framework to guide those choices.
How Much Does It Cost to Repair Common Engine Problems?
Costs for common repairs typically fall into these ranges: minor maintenance and repairs (oil leak fix, spark plugs, sensors) commonly range from $150 to $1,000, timing belt jobs can be $500–$1,000 depending on engine access, head gasket repairs often range $1,200–$2,000, engine rebuilds typically start around $2,500 and can reach $4,000 or more, while full engine replacements often exceed $3,000 depending on whether the engine is remanufactured or new. Variables that push costs higher include labor rate zones, inaccessible engine layouts that increase disassembly time, and discovery of additional damage during repair. These cost bands help set realistic budgets and determine whether the vehicle’s value justifies extensive investment or whether replacement is more economical.
When Should You Choose Engine Rebuild vs. Replacement?
Deciding between rebuild and replacement depends on vehicle value, long-term reliability needs, available warranties, and expected remaining life. Rebuilds can be cost-effective when the vehicle has sentimental value or when major components (block, heads) are serviceable; replacements with remanufactured engines may offer faster turnaround and a known warranty, albeit sometimes at a higher upfront cost. Create a decision checklist: compare repair estimate vs vehicle value, evaluate warranty length and coverage, consider downtime and parts availability, and factor in future maintenance expectations. Use these metrics alongside personal needs (daily commuter vs collector car) to make a rational cost-benefit decision.
To aid budgeting and comparison, the following table summarizes typical cost ranges and notes that influence those estimates.
| Problem / Repair Type | Typical Cost Range (Parts + Labor) | Notes (vehicle age, labor variability) |
|---|---|---|
| Minor fixes (sensors, gaskets, spark plugs) | $150 – $1,000 | Costs skew higher for luxury/late-model vehicles |
| Timing belt/chain service | $500 – $1,000 | Includes water pump replacement on many engines |
| Head gasket repair | $1,200 – $2,000 | Higher if additional damage to head/block or engine teardown required |
| Engine rebuild | $2,500 – $4,000+ | Depends on parts replaced, machining, and labor hours |
| Engine replacement (used/reman) | $3,000+ | Warranty and reman quality affect decision and price |
How Can You Perform DIY Engine Repair and Maintenance Safely?
Many routine maintenance tasks are safe and effective for competent DIYers and deliver cost savings while extending engine life. Tasks such as oil and filter changes, air filter replacement, spark plug replacement, and battery terminal cleaning are low-risk when performed with proper tools, a clean workspace, and basic mechanical knowledge. More invasive repairs—head gaskets, timing component replacement, or anything requiring engine teardown—are best left to professionals because of complexity, specialized tooling, and risk of compounding damage. The subsections below explain step-by-step procedures for simple DIY tasks and list red-flag conditions that should prompt immediate professional intervention.
What Are Simple DIY Repairs Like Oil Changes and Spark Plug Replacement?
An oil change involves draining old oil, replacing the filter, refilling with the correct oil grade, and checking for leaks; typical DIY time is 30–60 minutes with standard tools and a safe jack/stands setup. Spark plug replacement requires the correct gap and torque settings, inspection of ignition coils/wires, and careful reassembly to avoid cross-threading or ignition coil damage; this task usually takes 30–90 minutes depending on engine access. Use proper safety equipment, dispose of used oil filters responsibly, and consult the vehicle’s service manual for torque specs and oil capacity. Performing these routine tasks correctly saves money and provides tangible insight into overall engine condition that helps identify emerging issues.
When Is Professional Help Needed for Engine Repairs?
Seek professional intervention when symptoms point to internal engine damage—persistent knocking, significant coolant and oil mixing, compression test failures, or timing component failure—because these conditions require teardown, precision machining, or calibrated reassembly. Also hire a professional when specialized diagnostic equipment, such as an oscilloscope or advanced scan tool with manufacturer-level codes, is needed to isolate electrical or control-system faults. When visiting a shop, bring documented symptoms, recent maintenance history, and any diagnostic codes found to accelerate accurate diagnosis. Choosing professional help at the right threshold avoids worsening the issue and often reduces final repair costs compared to trial-and-error part replacements.
Before attempting any DIY task, ensure you have the right tools, workspace, and a conservative escalation plan to involve a professional if tests indicate serious mechanical failure.
- Common safe DIY tasks include oil and filter changes, air filter replacement, spark plug replacement, and battery maintenance.
- Tools to keep on hand: basic socket set, torque wrench, oil filter wrench, jack stands, and an OBD-II code reader.
- Always document maintenance and results of basic tests to inform future diagnostics or professional technicians.
How Does Regular Engine Maintenance Extend Engine Lifespan?
Regular maintenance preserves component tolerances, prevents contamination, and reduces stress on moving parts, which collectively extends engine lifespan and preserves reliability. Key maintenance tasks include scheduled oil and filter changes, coolant system maintenance, air and fuel filter replacement, ignition system service, and timing belt/chain inspections; each task addresses a specific failure pathway and reduces the chance of catastrophic issues. The next subsections list essential tasks with intervals and offer a template maintenance schedule adapted to mileage bands to make regular servicing actionable and manageable.
What Are Essential Maintenance Tasks for Engine Health?
Essential tasks center on lubrication, cooling, and clean airflow: regular oil and oil filter changes maintain lubrication and prevent sludge formation; coolant system service prevents overheating and corrosion; air filter and fuel system care ensure correct air–fuel ratios and combustion. Timing belt/chain inspection and replacement at manufacturer intervals prevent valve-train damage on interference engines, and spark plug/ignition checks maintain efficient combustion to limit stress on pistons and the catalytic converter. Watch for signs that maintenance is overdue—dark, gritty oil, frequent overheating, or drop in fuel economy—which indicate accelerated wear and the need to catch up on service.
How to Create an Effective Engine Maintenance Schedule
Create a maintenance schedule based on mileage bands (0–30k, 30–60k, 60–120k+) and driving conditions (normal vs severe such as towing, frequent short trips, or extreme climates), then log services and set reminders to match. A template: oil/change every 5k–10k miles depending on oil type, air filter every 15k–30k, coolant flush around 60k or per manufacturer, and timing belt replacement per manufacturer interval (often 60k–100k). Keep clear records of parts used and service dates to protect warranty coverage and inform diagnostic decisions later. A disciplined schedule reduces the probability of costly repairs and supports a consistent vehicle value trajectory.
- Create a written schedule segmented by mileage and driving conditions.
- Record part numbers, service dates, and technician notes for future reference.
- Use maintenance as a preventative investment: routine items cost far less than major repairs.
What Warranty and Service Options Should You Consider for Engine Repairs?
Warranty and service options can mitigate repair cost risk and provide assurance about workmanship and parts quality. Understand the differences between manufacturer warranties, extended warranties, and workmanship guarantees offered by shops; each has exclusions and conditions, often tied to maintenance records and approved part types. When engaging a service provider, verify warranty terms, ensure required maintenance records are maintained, and choose shops that provide written estimates and clear warranty documentation. The subsections below explain common warranty structures and a practical checklist to find a reputable mechanic.
How Do Engine Repair Warranties Work and What Do They Cover?
Engine repair warranties typically include parts and labor for a defined period or mileage and may exclude wear-and-tear items, fluid contamination, or damage from neglect; parts warranties differ from labor warranties and often have separate claim processes. Warranties commonly require documented maintenance history to remain valid, so keeping service records and receipts is critical. Ask for written warranty terms and verify whether remanufactured parts are covered; this information helps weigh repair vs replacement options and provides leverage when evaluating shop estimates. Understanding warranty scope reduces financial exposure and clarifies long-term protection after major repairs.
How to Find a Reputable Mechanic for Reliable Engine Repair Services
Evaluate shops using a checklist: confirm technician certifications (such as ASE where applicable), request written estimates with line-item parts and labor, read independent reviews, ask for references, and inspect shop facilities for cleanliness and organization. Request warranty terms in writing, ask about parts sourcing (new, OEM, or remanufactured), and seek clarity on diagnostic charges versus repair labor. Bring diagnostic logs and a symptom history to appointments, as detailed information improves estimate accuracy and reduces unnecessary work. Using this vetting process increases the likelihood of a correct diagnosis, fair pricing, and durable repairs.
- Document Symptoms: Keep a written log of when and how issues occur.
- Ask for Written Estimates: Request parts, labor, and warranty details in writing.
- Verify Certifications: Check technician credentials and shop reputation.
This article has presented actionable diagnostic workflows, symptom-to-cause mappings, tool selections, cost ranges, safe DIY tasks, maintenance scheduling, and warranty-vetting strategies to help you manage engine health and repair decisions effectively.